
How to Shrink Wrap a Sail Boat
You’ve just purchased a beautiful sailboat and want to protect it from the harsh winter elements. Shrink wrapping your vessel can provide a secure shield against snow, ice, and debris, ensuring your boat remains in top condition for the next sailing season.
But how exactly do you go about this process? Stay tuned to learn about the essential steps involved in shrink wrapping a sailboat, from gathering the necessary materials to the final sealing touches.
Key Takeaways
- Protect your sailboat from harsh weather conditions with shrink wrapping.
- Shield against rain, snow, wind, UV rays, and debris effectively.
- Ensure proper preparation and maintenance for successful shrink wrapping.
- Use necessary materials like shrink wrap film, heat gun, and support poles for best results.
Benefits of Shrink Wrapping
By shrink wrapping your sailboat, you can effectively protect it from harsh weather conditions and environmental elements. The shrink wrap acts as a sturdy barrier against rain, snow, wind, and UV rays, keeping your boat safe and secure. This protective layer helps prevent moisture from seeping into the boat, which can cause mold, mildew, and corrosion over time. Additionally, shrink wrapping your sailboat provides a shield against debris like dust, dirt, and bird droppings, keeping your boat clean and reducing the need for frequent cleaning and maintenance.
Furthermore, shrink wrapping offers a tight and secure fit around the boat, minimizing the risk of the wrap coming loose or tearing during transportation or storage. This secure covering also deters pests and critters from nesting or causing damage inside your sailboat. Overall, by investing in shrink wrapping, you’re ensuring that your sailboat remains in excellent condition, ready for your next adventure on the water.
Necessary Materials and Tools
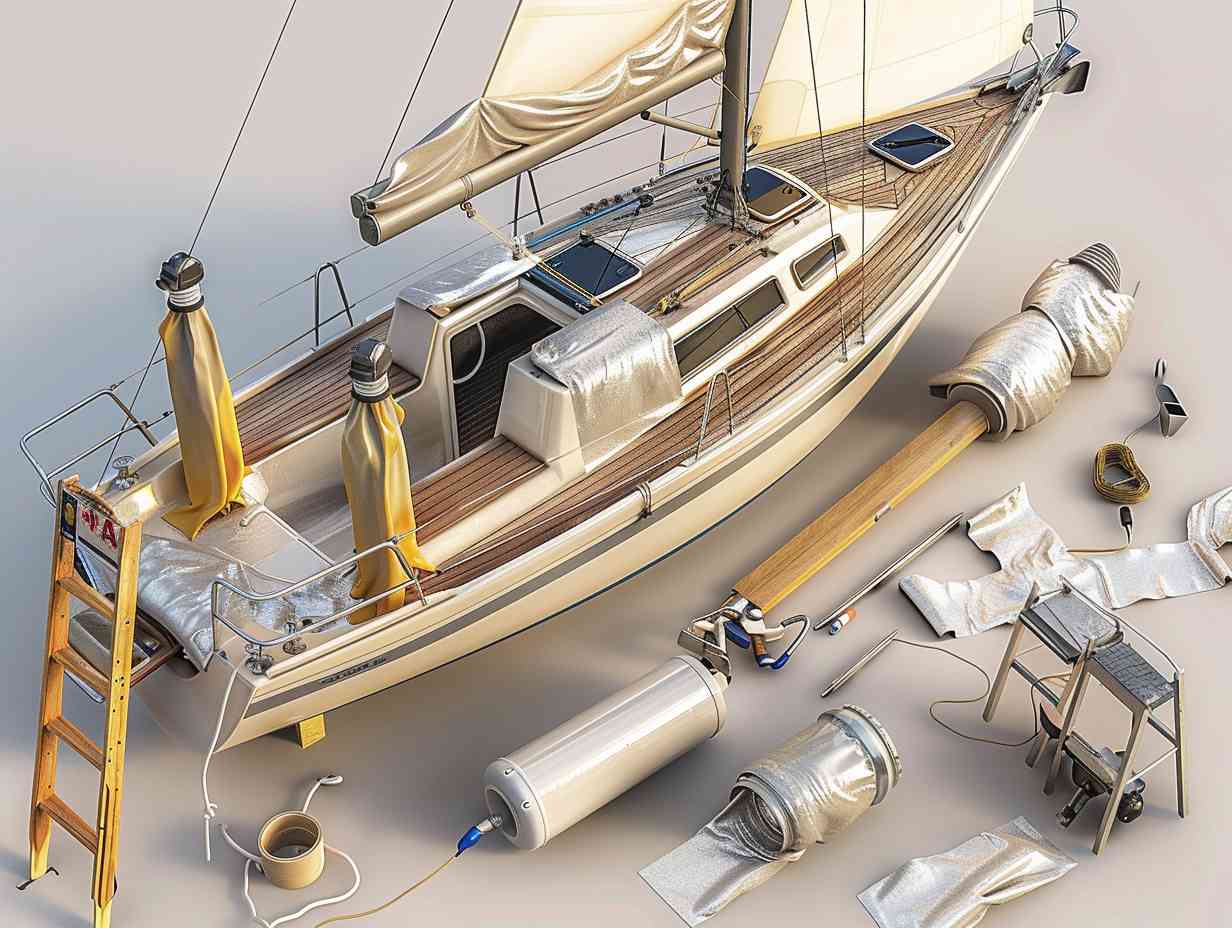
To shrink wrap a sailboat effectively, gathering the necessary materials and tools for the job is crucial. You’ll need a heat gun specifically designed for shrink wrapping, shrink wrap film, duct tape, a cutting tool like a utility knife, strapping or support poles, and vents to prevent condensation inside the wrap. The shrink wrap film should be a marine-grade material that can withstand harsh weather conditions.
Additionally, make sure you have enough film to cover the entire sailboat with some extra for overlaps and securing the edges. Duct tape will be used to temporarily secure the film in place before shrinking. The cutting tool is essential for trimming the excess film once the shrinking process is complete. Strapping or support poles will provide structure and support to the wrap, preventing sagging and allowing rain or snow to slide off easily. Vents are essential for ventilation to prevent moisture build-up inside the wrap.
With these materials and tools ready, you can proceed to prepare your sailboat for shrink wrapping.
Preparing the Sailboat
How can you guarantee the sailboat is clean and free of debris before starting the shrink wrapping process?
Before beginning the shrink wrapping process, it’s essential to make certain that the sailboat is clean and free of any debris that could potentially puncture or damage the shrink wrap. Start by thoroughly washing the sailboat to remove any dirt, salt, or grime that may have accumulated. Pay close attention to areas such as the deck, mast, and rigging, as these tend to collect debris. Use a mild detergent and a soft brush to scrub the surfaces gently.
Once the sailboat is clean, inspect it carefully for any sharp edges, protruding hardware, or other objects that could tear the shrink wrap. Remove any items that could pose a risk, and make sure there are no loose fittings or accessories that could cause damage. By taking the time to prepare your sailboat properly, you can help make sure a smooth and successful shrink wrapping process.
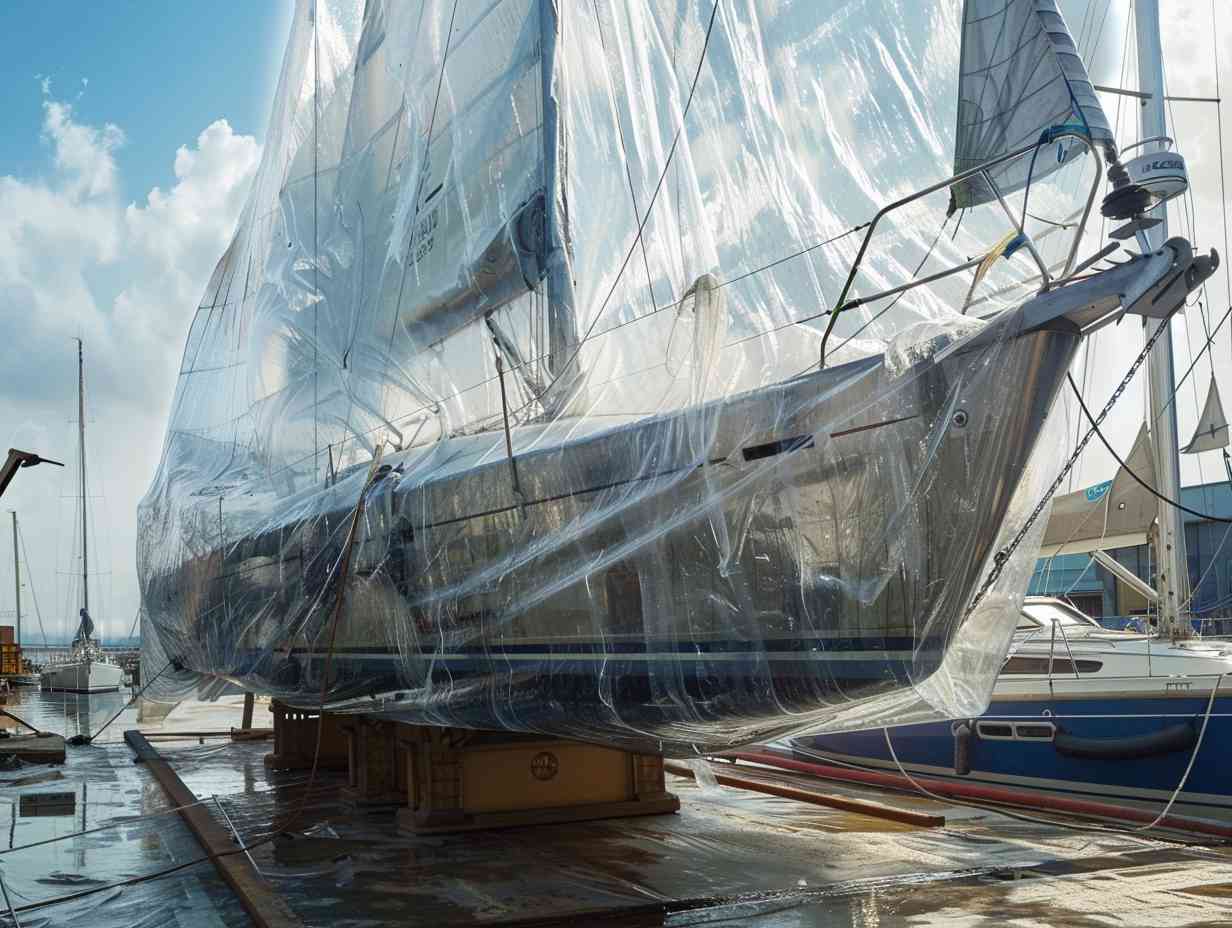
Shrink Wrapping Process
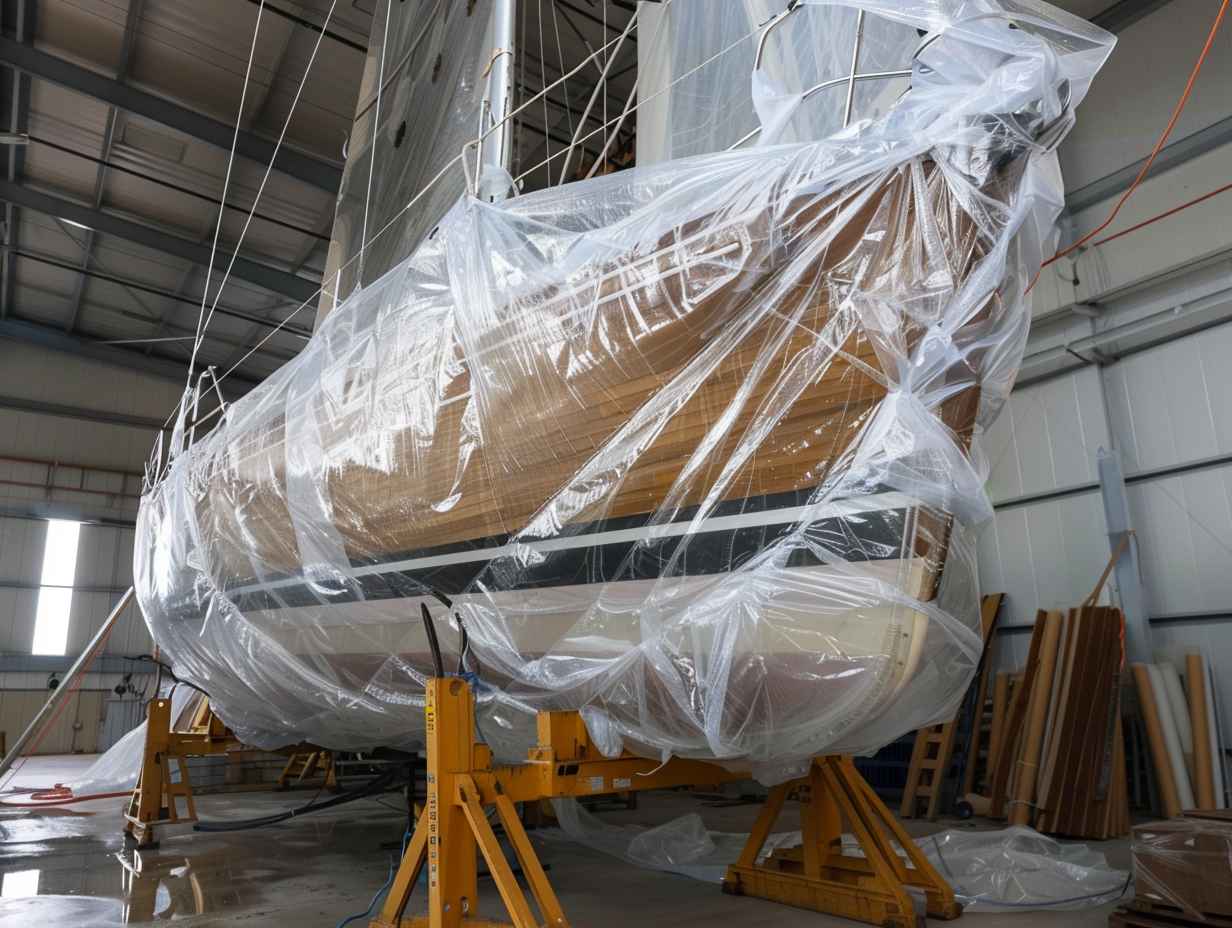
Make sure the sailboat is completely dry before beginning the shrink wrapping process. To start, set up a sturdy frame around the sailboat using PVC pipes or wooden battens. The frame should provide enough support for the shrink wrap material to drape over the boat without touching it directly.
Next, carefully unroll the shrink wrap material and drape it over the frame, ensuring it covers the entire sailboat. Use a heat gun to shrink the material, starting from the top and working your way down. Make sure to apply heat evenly to avoid any wrinkles or air pockets.
Once the shrink wrap is tightly sealed around the sailboat, trim off any excess material around the edges. Pay attention to any sharp corners or protruding objects that could poke through the shrink wrap.
Final Touches and Maintenance
Consider securing any loose edges or seams with additional heat application for a more secure shrink wrap. This step is important in making sure that your sailboat remains protected throughout its storage period. Inspect the entire shrink wrap covering for any tears, holes, or weak spots. If you notice any damage, promptly repair it using shrink wrap tape to prevent further deterioration.
To maintain the integrity of the shrink wrap, regularly check for any signs of wear and tear caused by environmental factors or wildlife. Snow buildup can exert pressure on the wrap, potentially leading to tears or stretching. Use a soft brush or broom to gently remove snow and debris from the surface. Additionally, ensure that the shrink wrap is well-ventilated to prevent moisture buildup, which can cause mold or mildew.
Periodically inspect the tie-down straps and support structure to confirm they’re secure and in good condition. If you notice any issues, address them promptly to prevent any damage to the shrink wrap. By staying proactive and conducting regular maintenance, you can prolong the lifespan of your shrink-wrapped sailboat and keep it in top condition.
Conclusion
Now that you’ve shrink wrapped your sailboat, remember that this process not only protects your vessel from harsh weather conditions, but it also reduces the risk of damage and prolongs its lifespan.
Did you know that boats left uncovered during winter months are three times more likely to suffer from water damage?
By taking the time to shrink wrap your sailboat, you’re investing in its longevity and ensuring many more adventures on the water.
Disclaimer: Some information is provided through AI. Users should always conduct their own research and consult with qualified professionals before making any decisions.Affiliate information declaration: We may earn revenue from the products referred on this page and participate in affiliate programs.
Related Posts

How to Set up a Sail Boat
A smooth sailing experience awaits as you learn the systematic approach to setting up a sailboat.

How to Ship a Sail Boat
Dive into the crucial details of shipping your sailboat and ensure a seamless transportation process.

How to Slow Down a Sail Boat
Tackling turbulent waters demands a unique technique to not only slow down but also find sanctuary - discover this surprising method ahead.